How to create and Delete files Automation Anywhere 360
While designing the process automation, we use a lot of files as input or output.
Sometimes we need to create a file based on the business process automation and other times we need to delete a file based on business process automation.
In this article, we will see how to achieve this task of create and delete files using AA360:
To create a file follow the below steps:
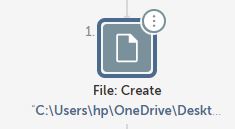
Step1: Drag and Drop create action (file actions package) from the actions panel to the designer panel as shown below:
Let’s look at the required parameters for this action:
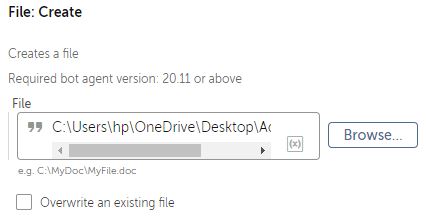
Here:
File –
We need to provide the file path along with the file name.
Check the overwriting option If you want to overwrite the file which is already created.
This will create a file on the specified location as shown below:

To delete a file follow the below steps:
Step1: Drag and Drop create action (file actions package) from the actions panel to the designer panel as shown below:

Let’s look at the required parameters for this action:

Here:
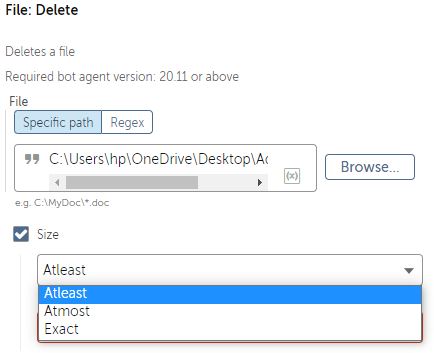
Specific path –
We need to provide the file path which needs to be deleted.
Regex –
If you want to delete multiple files then we can use regex because the file name will be different for each file.
There are couple more options for this action:
Size –
We can delete the file based on file size as well. Check the checkbox and then provide the file size in kb.
There are three options in this property:
- Atleast – It will check the file size to be atleast the given input file size
- Atmost – It will check the file size to be almost the given input file size
- Exact – It will check the file size to be same as the given input size
Date –
We can delete the file basedon the created or modified date as well. Check the checkbox and select the option as shown below:

After selecting this, we have other options as well to filter it even more and those options are shown below:

Relative to runtime –
It will take the system input and we need to provide number of days it need to take as input as shown below:

Between two dates –
It will take the start date and the end date and delete files between those dates as shown below:

If you want to include the dates which are given as input then check the checkbox that as (Include start and end dates) as shown above.
On a date –
If you want to delete a file on a particular date then provide that particular date as input as shown below:

Before a date –
If you want to delete a file on previous dates then provide that date as input as shown below:

If you want to include the input date also then check the check box that says (Including date) as shown above.
This option gives us an extra filter while deleting the files in Automation Anywhere 360.
This is how we can create and delete files using AA360 or AA2019.