How to install Power Automate Desktop
Recently, Microsoft has stated that the power Automate Desktop is free for Windows 10 users.
Any customer with a Power Automate per user with an attended RPA plan license (or free trial) can immediately access the preview by signing in to their Microsoft account and creating a new UI flow.
Now, I am starting the RPA journey with a new tool which is power automate desktop.
So, started creating these articles that can help everyone who is getting started with it.
Let’s jump into the topic now:
Install Power Automate Desktop:
Step1: We need to go to the Microsoft power apps web page. Don’t know where to go click here. Then you will see a screen like below:

Step2: Login to your Microsoft account then you will see a screen like below:
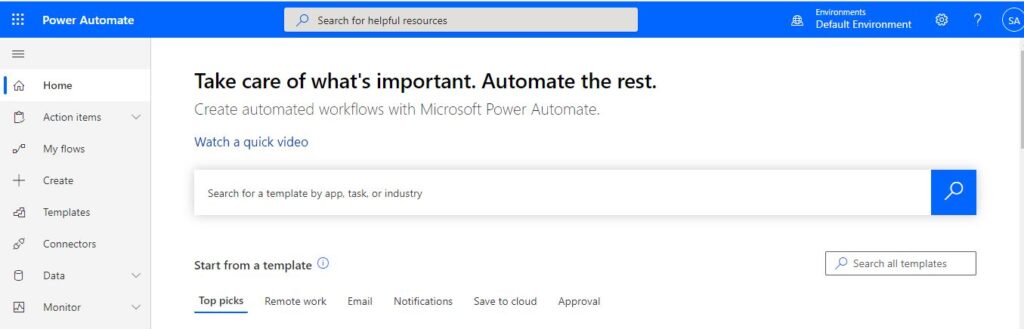
Step3: Click on My Flows which is displayed on that page and it will take us to the page where we can download the setup file as shown below:

Step4: Now click on Power Automate Desktop then the setup file is downloaded as shown below:
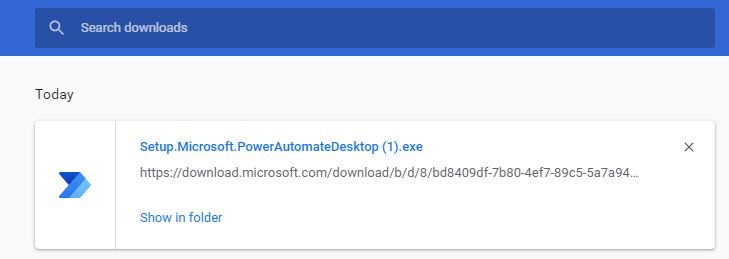
Step5: Lastly, click on that downloaded exe file then it will take some time to set up all the required things and then this page is displayed as shown below:

Step6: As shown on that page click on Google chrome and Microsoft edge which will set up the extensions that helps while automating web applications.
Step7: After finishing the above step then click on the launch power automate desktop button.
Which will complete the installation process and launches the Power Automate Desktop Studio where we can design flows.
After completing all the above steps for installation, now you are ready to make those automation flows using this and the Studio looks like below:

This is the overall process of how we can install Power Automate Desktop and many more articles to come on this RPA Tool.
So, stay tuned to learn more with me!
No comment yet